Creating a wired home network depends on your specific needs, including the location, number of devices to connect, and the types of devices. This article guides you through the essentials of setting up a wired home network, providing a step-by-step process.
What is a Wired Home Network?
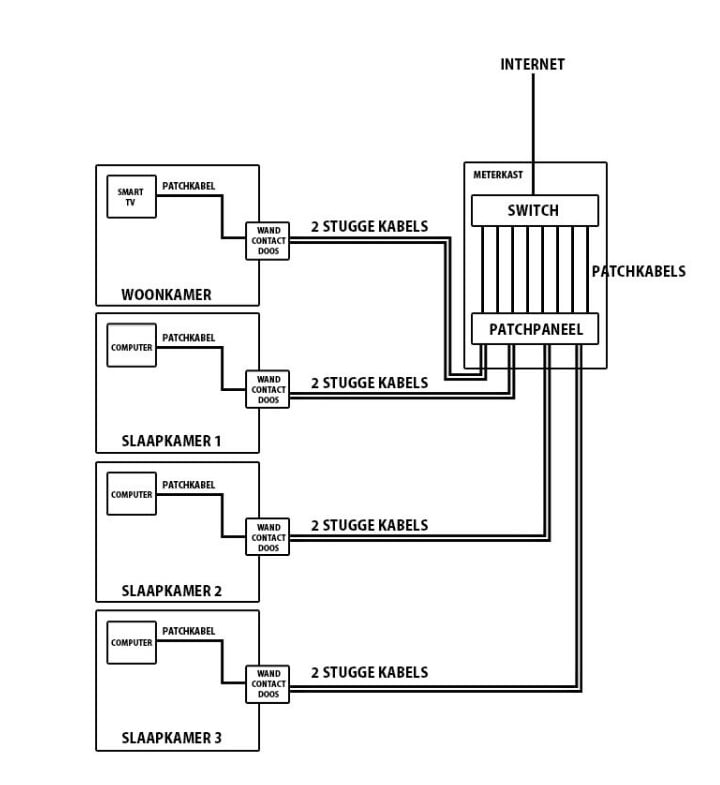
A wired home network is established by connecting computers and network cables. The goal is to ensure a robust and stable internet connection for activities such as streaming, online gaming, and remote work. Let's walk through the steps of setting up a wired home network.
Note: A wired home network typically covers a maximum distance of 90 meters. For longer distances, consider using fiber optic cables.
Requirements for a Wired Home Network
To install and set up a network, you need three main components:
- Cables
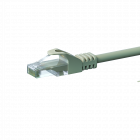
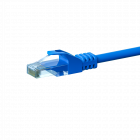
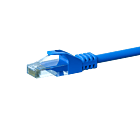
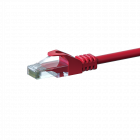
- Internet cables or
- Patch cables
- Tools
- LSA punch-down tool or
- Digitus terminal block pressing tool
- Accessories
- RJ45 connectors or
- Keystones or
- Wall outlets and/or patch panels or
- Keystone media box
- Optional: Switch or switches
Below, we'll explain each requirement in detail and help you make the right choices.
Choosing the Right Internet Cable
For a wired home network, use Cat5e, Cat6, Cat6a, or Cat7 cables. The higher the Cat rating, the more bandwidth and higher speeds the cable can achieve.
In network cables, you can choose between flexible or rigid cable. Flexible or rigid refers to the core of the cable and says nothing about the ductility of the cable.
- Choose a flexible network cable (patch cable) if you mount connectors at the end of the cable
- Choose a stiff network cable if you mount this cable on a patchpanel
So you can also choose patch cables. The advantage of patch cables is that you can often hide them nicely behind the baseboards. Patch cables are ordinary network cables with RJ45 connectors already attached to the ends. Do you choose a patch cable? Then you automatically choose a flexible cable.
Want to know more about a flexible or rigid cable? Read it in this article: Choosing the righ cable
Tip from our technician
Want a stable Internet connection at all times? Then go for a 100% copper network cable. The core is made entirely of copper, which guarantees that the signal is routed in the best possible way. As a result, you can work (at home), game or stream on a stable network with strong signal throughout your home or office.
Do you find 100% copper network cables too expensive? Then you can go for CCA cables. These are the cheaper varieties of network cables. CCA means that the conductors in the cable are made of aluminum with a layer of copper over them. This does increase the chance of signal interference.
Because you only lay a (home) network once, it is practical to buy a cable on roll. That way you can always lay the right distance.
Unshielded or FTP network cable
Once you've decided on flexible or rigid and 100% copper or CCA, you still need to decide whether to go for an unshielded or shielded (FTP) network cable.
- Choose an unshielded cable if no external power factors (magnetic fields) are present around the network cables.
- Choose shielded if there is a COAX or power or power line cable nearby.
Difference between termination on connectors, socket/patch panel or keystones
There are several ways to terminate network cables.
- Mounting on connectors: With this method you push an RJ45 connector on the ends of the network cable. You plug one end into the router and the other into the smart TV, for example.
- Mating to a wall outlet or patch panel: in this method, you push the stiff network cable into the LSA strip of the patch panel using an LSA punch down tool.
- When terminating on a patch panel, it is important that this is done according to the B standard. Want to see how this works? Then read our article: mounting a patch panel, how to do it?
- Terminate on a keystone media box: are you using patch cables to create your home network? Then it is necessary to put keystones on the ends of these cables which have standard RJ45 connectors. You then attach this keystone to the Keystone media box.
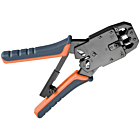
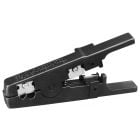
What tools do you need?
To terminate network cables, you need tools.
- Buy the LSA punch down tool if you want to install your network with one tool. The punch down tool strips the cables and when pressing the cables into the patch panel or wall outlet, the punch down tool also immediately cuts off the excess piece of cable.
- With the digitus terminal block pressing tool, you press the wire pairs of the stripped utp cable into the LSA strip of the patch panel or socket. So with this tool, it is important that you first strip the network cable and then cut the cable to length
Buy network accessories
There are six types of network accessories
- RJ45 connectors are suitable for flexible and rigid cables. When terminating, you pinch the connector on the cable, creating a connection to the core.
- Keystone: allows you to layout a patch panel or media box and build an RJ45 connection. An RJ45 keystone has a connector on one side that fits an Internet plug. On the other side is an LSA strip where you terminate the cable.
- Wall outlet: the termination of a rigid cable is done on a wall outlet; also known as an in-wall or surface-mount box. Are you opting for an FTP cable? Then make sure you also purchase a shielded wall outlet. Also match the type of cable (6, 6a, 7 or higher) to the type of socket.
- Patch panel: to create connection from the wall outlet to a computer, for example, or you terminate the network cable to a wall outlet? Then you mount the other end of the cable on the LSA strip of the patch panel.
- Keystone media box: the keystone media box is designed to mount keystones. The keystones are attached to the patch cables.
- Switch: you need a switch if you are short of network ports. Generally, a router has 4 ports. With a switch, you can expand the ports to 48, allowing you to connect more devices to the wired network.
Step-by-step home network connection
Step 1: Determine the rooms
First, you need to decide which devices you want to connect wired. Then you decide from which point you will lay the network cables. Often this is from the meter box or a server room.
Step 2: Lay the cables
Lay the cables from the meter box or server room to the various rooms you determined in Step 1. In most cases, you work your cables away in installation pipes. In new construction, there are often hollow conduits, through which you pull the network cables using a pull spring.
{cta_buy_trekveer}
In existing houses, you have to drill holes in the walls. Sometimes there is also the option of hiding the network cables behind baseboards. Are these not options in your situation? Then use cable ducts.
Step 3: Disconnecting the cables
The type of cable (flexible or rigid) determines how you are going to terminate the cables. In the meter box you can use in- or surface-mounted boxes, Keystone media box or a patch panel. If you are working with RJ45 connectors, pinch the connectors on the cables.
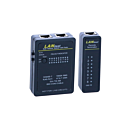
Step 4: Test your internet connection
Once all cables are laid and disconnected, it is advisable to test the connection. You do this with a cable tester or the complete Network toolset. Is everything working properly? Then you have laid your network properly!