You've purchased a patch rack and can't wait to organize your network. Finally, your network is in order! For smaller devices, you ordered shelves right away. But how do you attach the shelves to the 19-inch profiles? It's simple, and we'll show you step by step.
What You Need
- Phillips screwdriver
- Optional cage nut super tool and cage nut tool
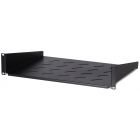
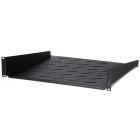
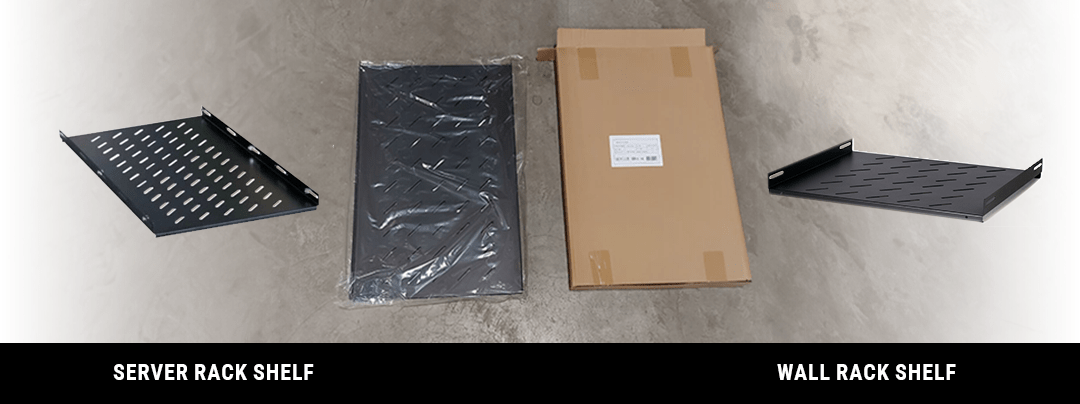
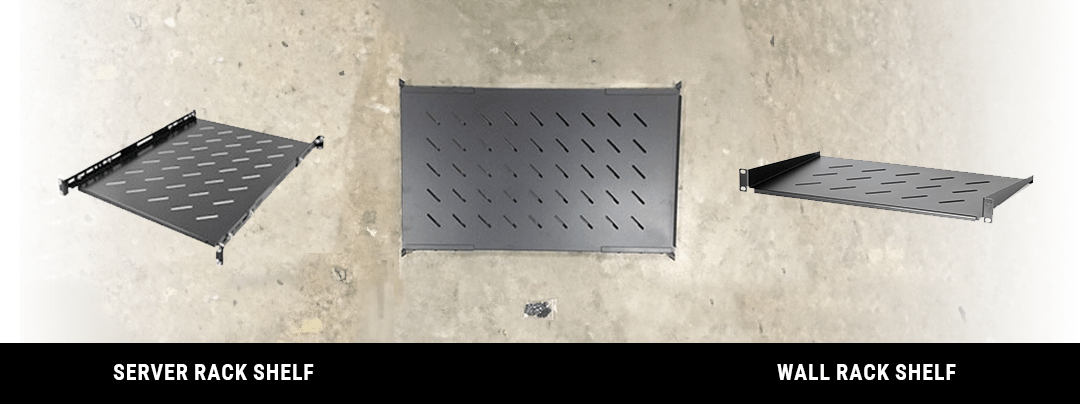
We offer three types of shelves: fixed shelves, pull-out shelves, and universal shelves. We'll show you how to install each type in your server rack with a few simple steps.
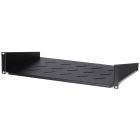
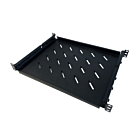
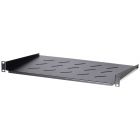
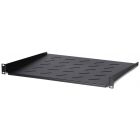
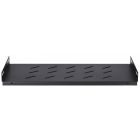
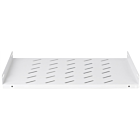
Mounting Fixed Shelves DS-FH
These shelves are only suitable for our own line of server and wall racks. The shelves are placed between the 19-inch profiles. You install the DS-FH shelves as follows:
Step 1
Take the shelf and the set of cage nuts and screws out of the packaging.
Step 2
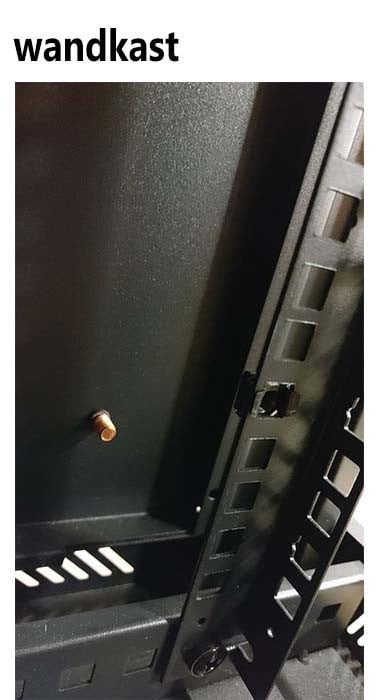
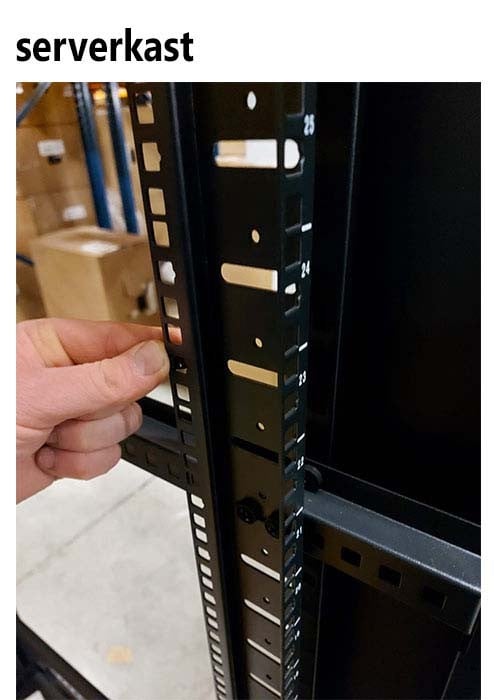
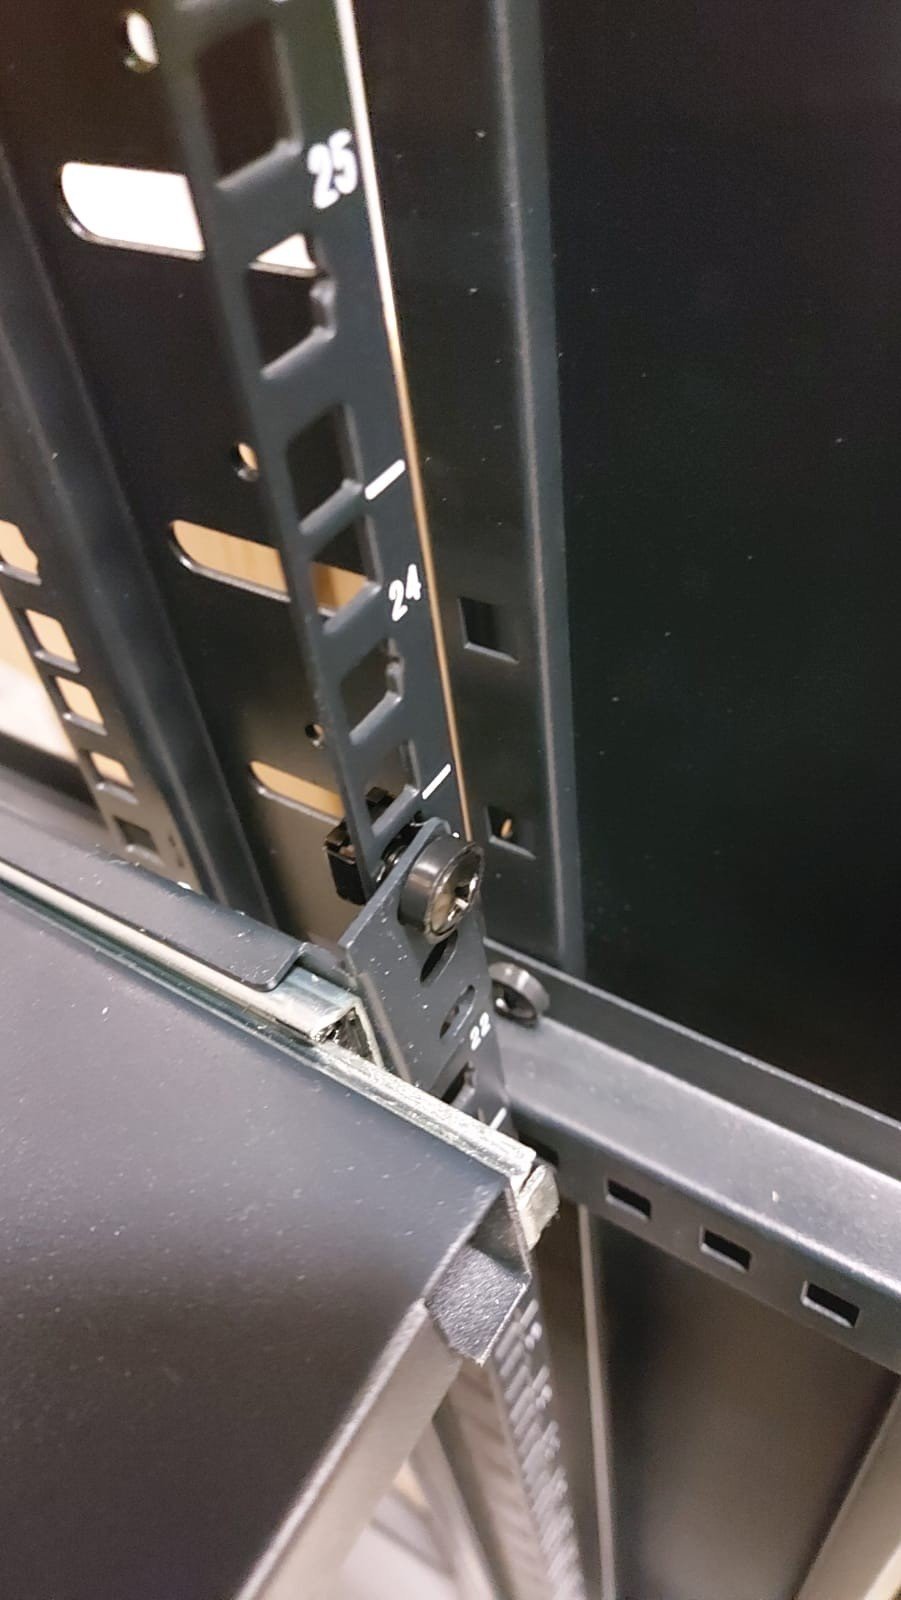
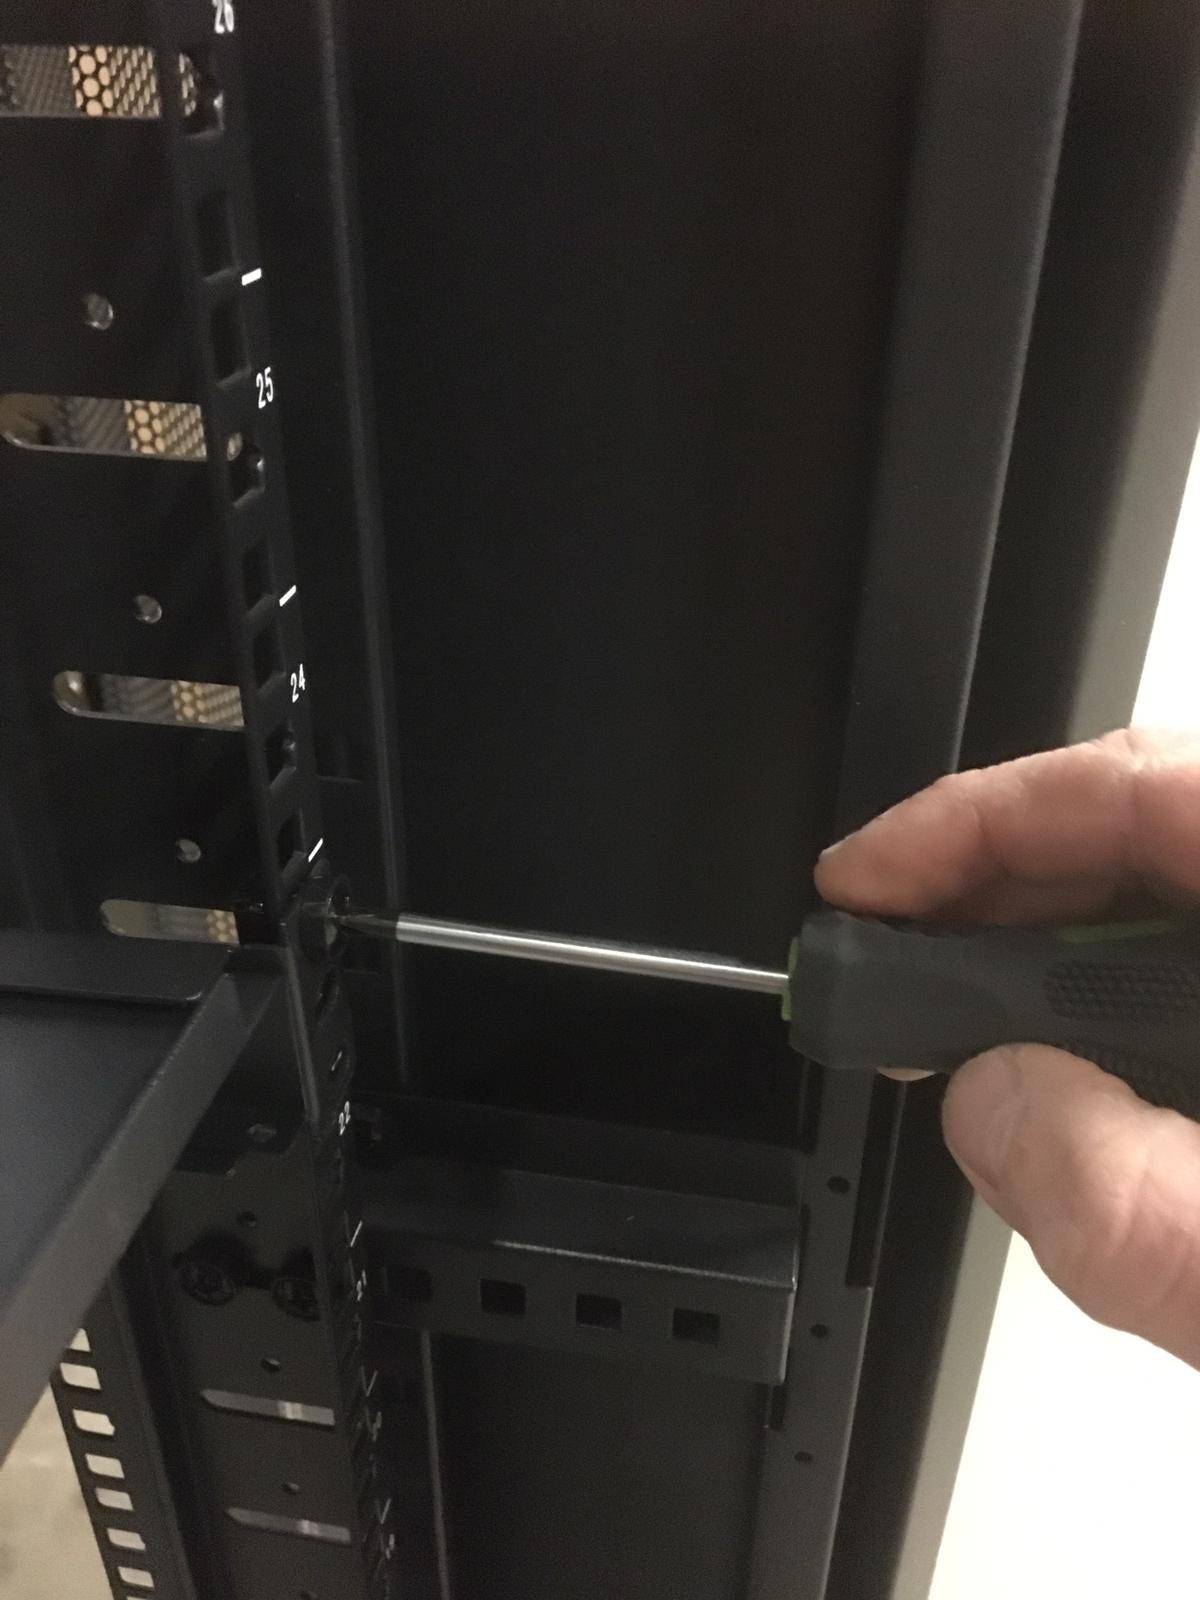
The 19-inch profiles of the server rack or wall rack have recesses where the cage nuts can be attached. Place the cage nuts from the outside into all four profiles of the server rack. Do this at the desired height. This is easiest with a cage nut super tool.
Step 3
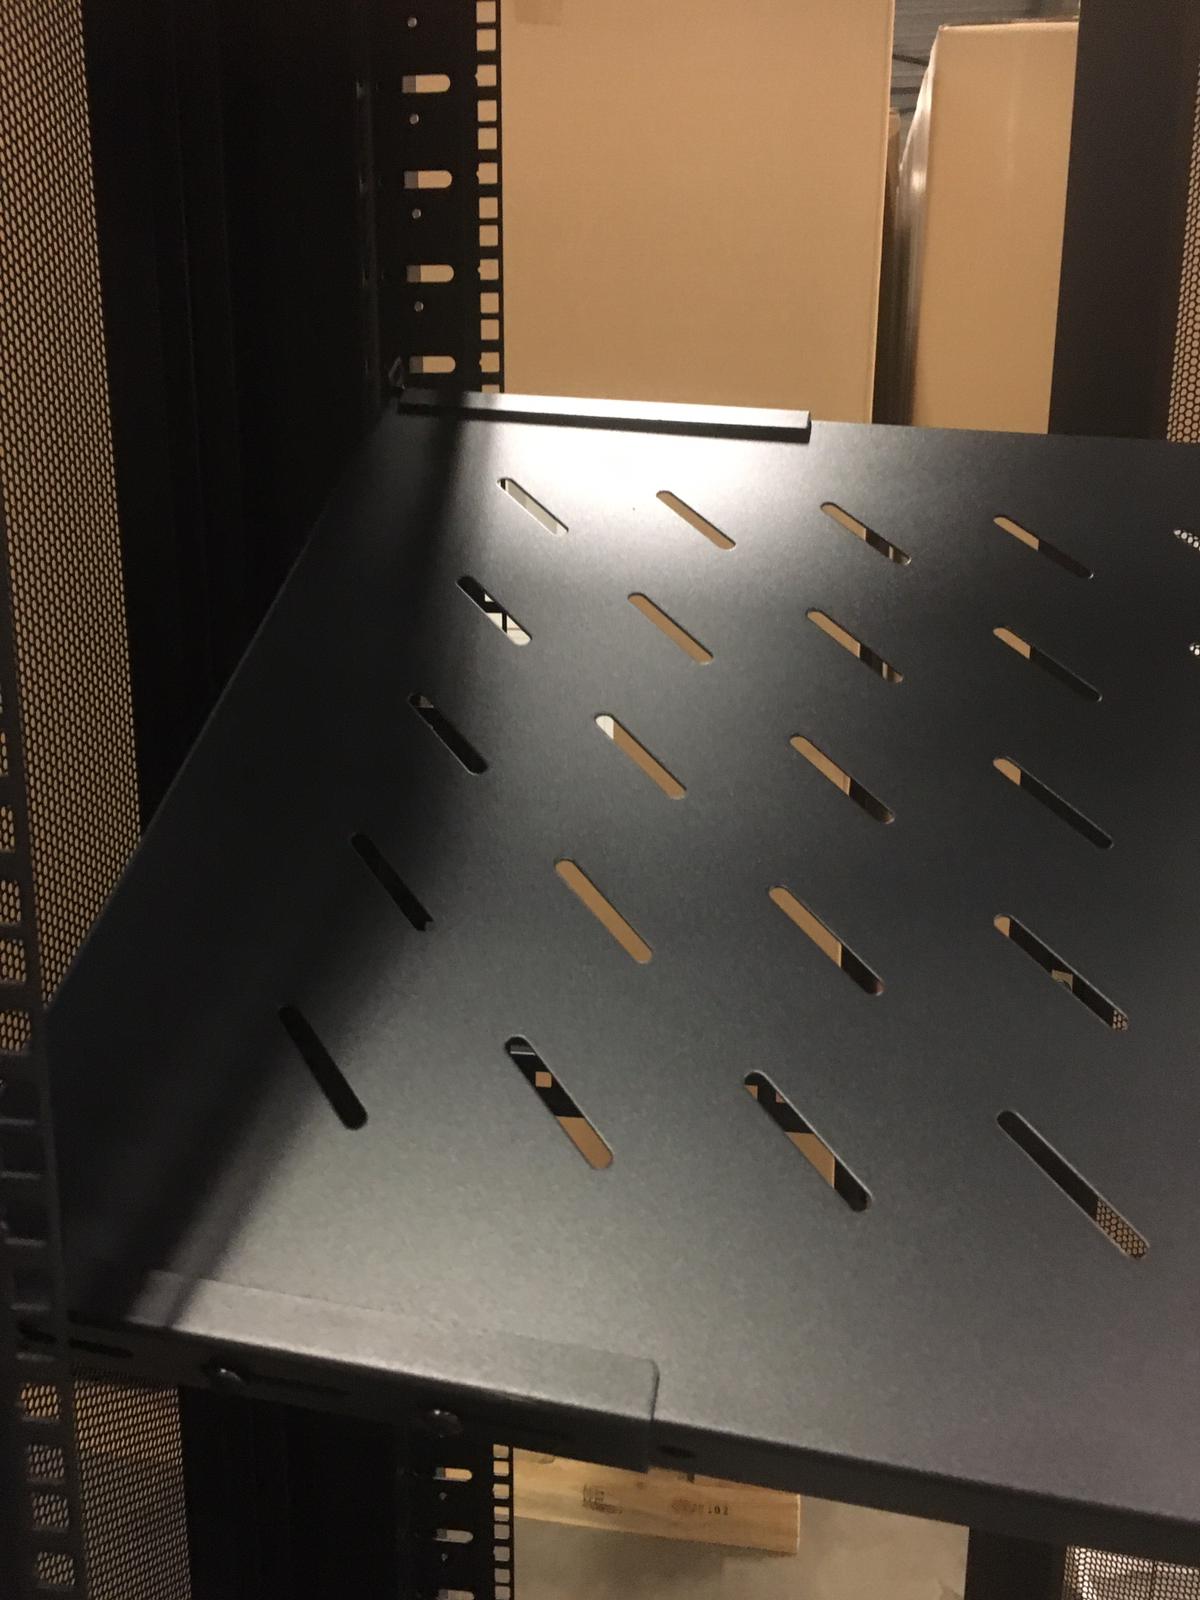
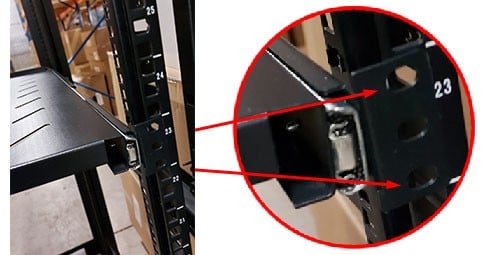
Then slide the shelf between the 19-inch profiles so that the perforation is exactly over the cage nut. This requires some force because the shelf is clamped between the profiles. It's best to tilt the shelf horizontally and position it between the styles from the front. Then, push the shelf into place until it takes the desired, fully horizontal position.
Step 4
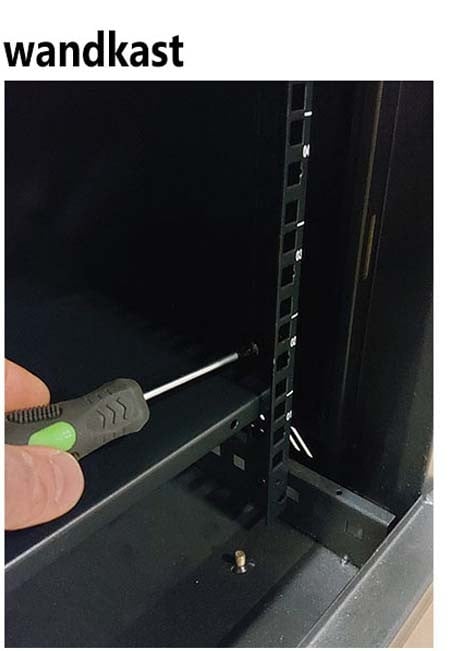
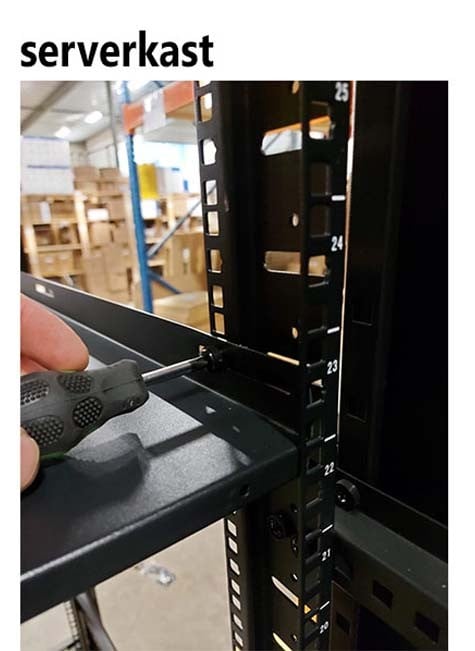
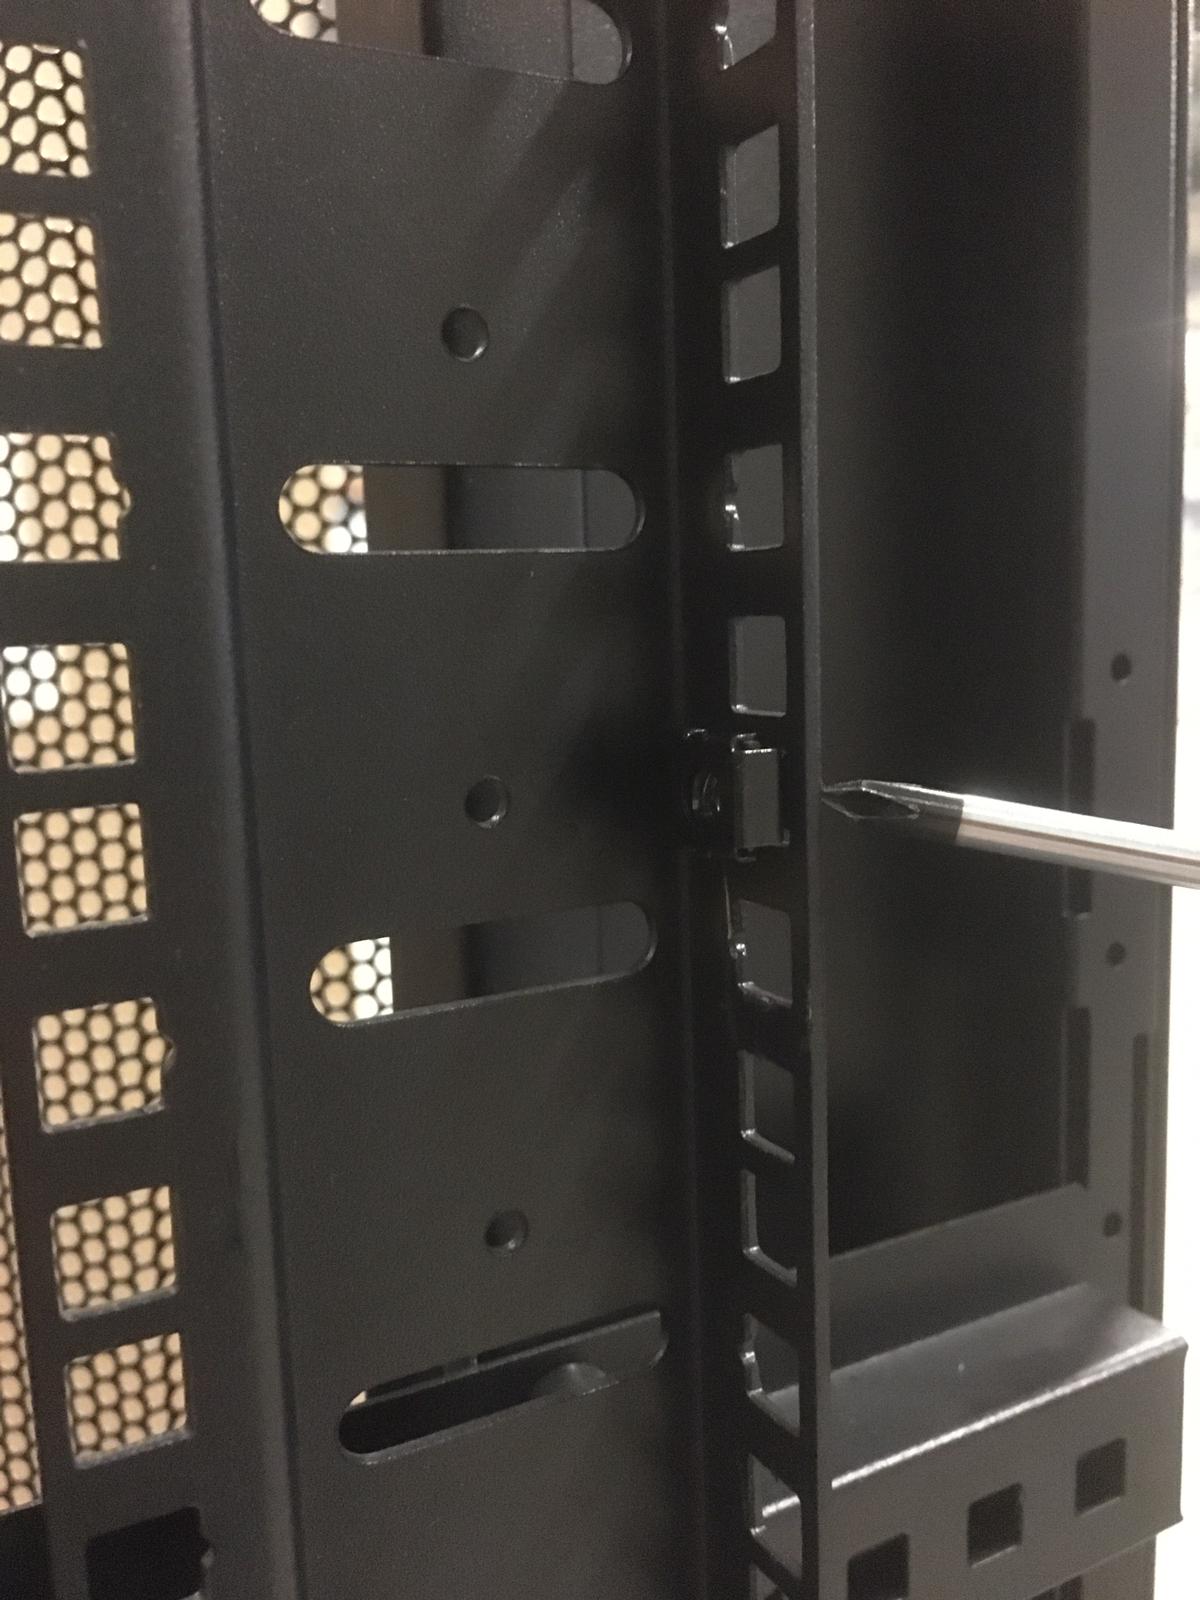
Secure the shelf with the supplied cage screws. This can be done with a Phillips screwdriver or with special tools for cage nuts. The shelf is now immediately ready for use.
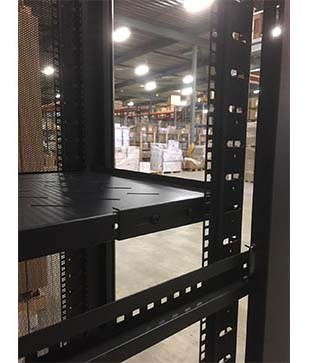
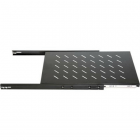
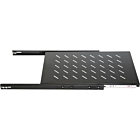
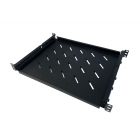
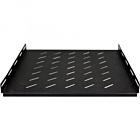
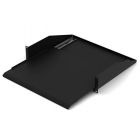
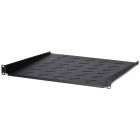
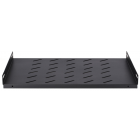
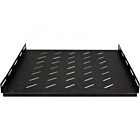
Mounting Pull-Out Shelves DS-UH
These shelves are only suitable for our own line of server and wall racks. The shelves are attached to the front and rear of the 19-inch profiles. You install the DS-UH shelves as follows:
Step 1
Take the shelf and the supplied cage nuts and screws out of the packaging.
Step 2
Place the cage nuts at the front and rear in all four profiles of the server rack. Do this at the desired height.
Step 3
Place the shelf between the 19-inch profiles so that the recess of the mounting ears is over the cage nuts you just placed. Screw the cage screws to the front of the shelf with a screwdriver or cage nut tool.
Step 4
Extend the telescopic guides to the rear 19-inch profiles until the recess of the mounting ears is over the cage nuts just placed. Screw the cage nuts tight. Do this for all four profiles. The shelf is now ready for use.
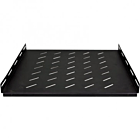
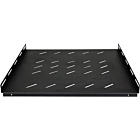
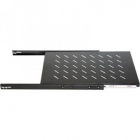
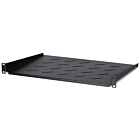
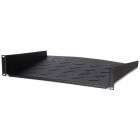
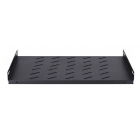
Mounting Universal Shelves DS-FO
These shelves are suitable for all 19-inch patch and wall racks. The universal shelves are attached to the front and rear of the 19-inch profiles. You install the DS-FO shelves as follows:
Step 1
Take the shelf and the supplied cage nuts and screws out of the packaging.
Step 2
Place the cage nuts at the front and rear at the desired height in all four profiles.
Step 3
Place the shelf between the 19-inch profiles so that the perforation for the cage nut is over the cage nut. Screw only the cage nuts to the front.
Step 4
The rear attachment points of the universal shelf are depth-adjustable. Pull these out until the mounting holes for the cage nuts in the profiles are exposed. Screw the cage nuts to the rear. The shelf is now ready for use.