You want to set up a new home network or replace the existing network cabling. The time of plastic cable ducts on the skirting boards is over, and you're really making an effort. The new cable must be neatly concealed through walls, floors, or ceilings. Read on to learn how to connect your network cable step by step.
When pulling network cables through walls, you want to keep the opening as small as possible. The best choice is to use bulk cable because it has the advantage that no connectors are attached to the cable ends. You only need to consider the diameter of the cable, not the much wider plug. Moreover, the cable can be cut to size, leaving no excess cable lengths.
After pulling the cable from A to B, you still need to finish the cable with connectors. Nowadays, only a "straight" cable is used. This means that the connector at the beginning is connected in the same way as at the end of the cable.
Which cable category do you choose?
To set up a network connection, you need bulk cable. Bulk cable is now available in all categories: Cat5e, Cat6, Cat6a, and Cat7.
Cat 5e and Cat6 can handle speeds up to 1000 Mbit/s and are suitable for gigabit networks. However, the bandwidth of Cat6, with 250 MHz, is 2.5 times larger than that of Cat5e. Cat6a and Cat7, with 10,000 Mbit/s, are suitable for 10-Gig networks. While Cat6a has a bandwidth of 500 MHz, Cat7 offers 600 MHz. In summary, the higher the category, the faster the data traffic, and the more data can be processed simultaneously.
Material of Wire Pairs
Once you have chosen a category that suits your internet usage, you can choose between CCA and 100% copper. This refers to the material from which the core of the cable, the wires, is made. 100% copper is the best choice because it is less prone to cable breakage and conducts network signals better. Additionally, a 100% copper cable is suitable for PoE.
Stranded or Solid Cable
Typically, you use stranded cable for terminating a connector on a cable. However, if you connect the cable to an LSA strip on a wall outlet or patch panel on one end, you need a solid cable. In this case, you also need connectors suitable for solid cables. We specify for all our connectors whether they are suitable for stranded or solid cables.
Shielding
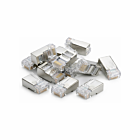
With bulk cable, you can choose between an unshielded (UTP) and shielded (FTP) cable. It's straightforward: If the cable is not next to a power or coax cable, and your other network components and cables are unshielded, a UTP cable is sufficient. If your other network cables and, for example, your patch panel are shielded, or you're not sure, choose an FTP cable.
Instruction video
What do you need to make an internet cable?
- Cat5e cable or Cat6 cable
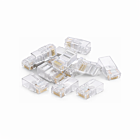
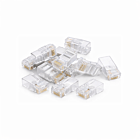
- Connectors
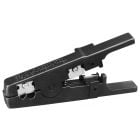
- Cable stripper
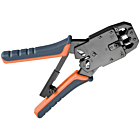
- Crimping tool
Once you have all the necessities, you can start!
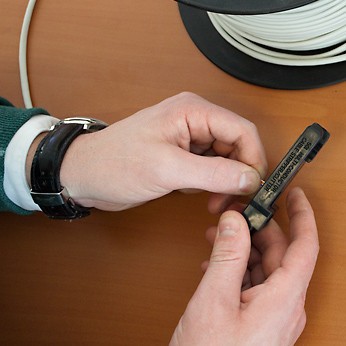
Step 1: Strip the Network Cable
Use a cable stripper to remove the cable sheath from the network cable, exposing the small wires.
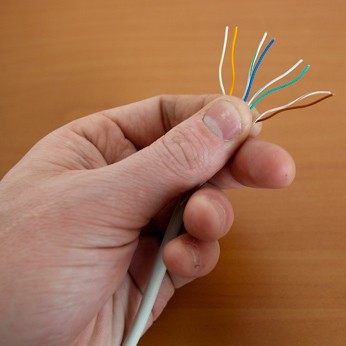
↑ Here you can clearly see 4 wire pairs: white-blue & blue - white-orange & orange - white-green & green - white-brown & brown
When a boot needs to be attached to the cable (this is optional), it must be slid onto the cable before the connector is crimped.
Step 2: Arrange the Wires in the Correct Order
↑ Arrange the wires in this order:
1. white-orange
2. orange
3. white-green
4. blue
5. blue-white
6. green
7. brown-white
8. brown
Step 3: Cut Straight
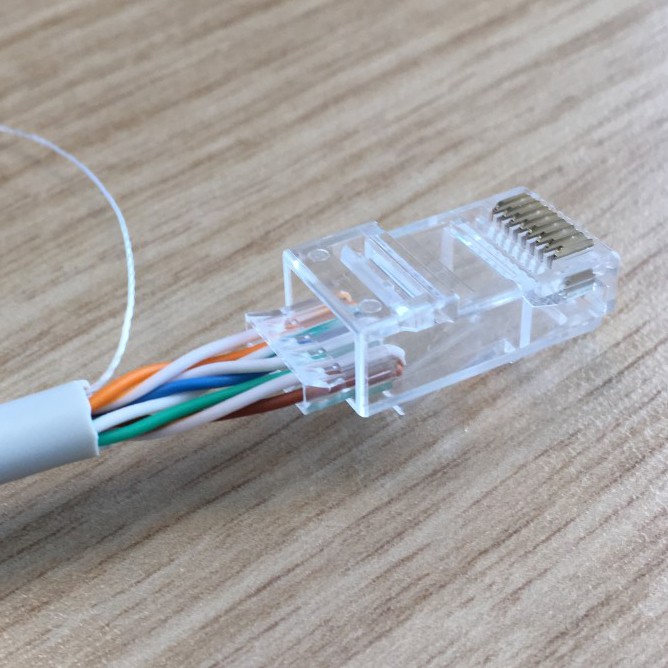
Hold the connector with the tab facing down and insert the cables.
Step 4: Crimp the Connector Securely
Use a crimping tool to crimp the connector.

Step 5: Repeat Steps 1-4 for the Other End of the Cable
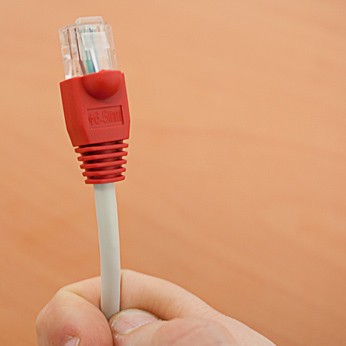
Your internet cable is now ready for use!
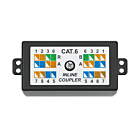
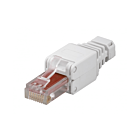
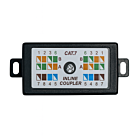
Connect a Network Cable with an Adapter
If you use an adapter to make a network cable, repeat the first two steps: strip the cable and arrange the wires in the correct order.
↓Place the wires according to the color order in the supplied adapter.
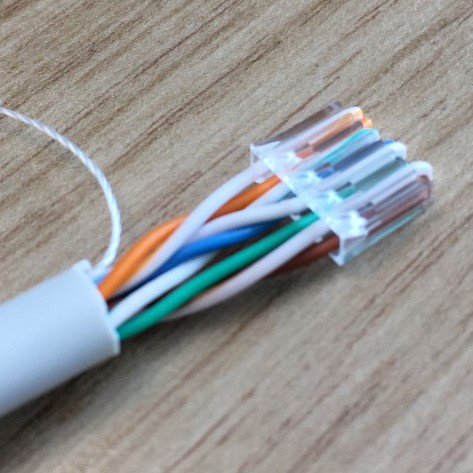
1. white-orange
2. orange
3. white-green
4. blue
5. blue-white
6. green
7. brown-white
8. brown
↓ Slide the adapter into the connector.
↓ Crimp the connector with a crimping tool.
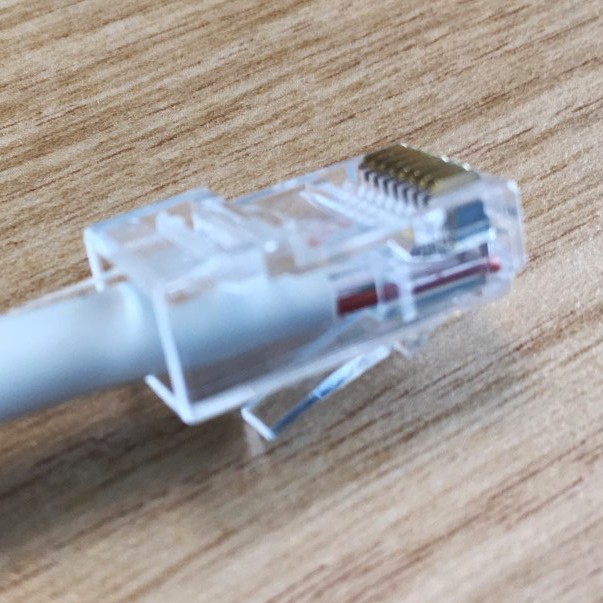
The network cable is ready!
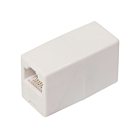
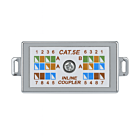
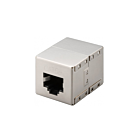
Extend UTP Cable
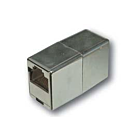
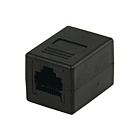
After you have finished the internet cable with a connector, you can connect the cable. But what if, after some time, you want to extend the internet cable further? Do you have to rerun a bulk cable all the way from the beginning? Fortunately not!
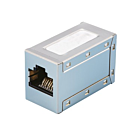
For these cases, there are couplers, a kind of double connector that allows you to connect two RJ11 or RJ45 plugs. You insert, for example, the connector that you have terminated on a bulk cable into one side of the coupler and a ready-made patch cable with connectors into the other side. And with the other end of the patch cable, you connect it to your network device. This simple way allows you to extend your internet cable.